This seem to have been a topic for some time now and with the recent release of the Cayo Perico update which included the Sparrow. The discussion seems to have had a new breathe of fresh air thrust into it. So I've put all of the main contenders, the Sparrow, the Buzzard, the Opressor MKII and the Deluxo through a series of test's to see which one comes out on top. We'll be scoring each vehicle a position in the various tests and the one with the lowest overall score will be deemed my winner.
Up first is the Buzzard which in all honesty is probably my go to helicopter in the game, It's not however the vehicle I currently use for grinding. It's a small helicopter whose cockpit and canopy doesn't offer much in the way of protection for any of it's occupants. It does however offer 4 seats, 1 pilot, 1 co-pilot and 2 passengers. The co pilot can take control of the missiles while the two passengers can fire there own personal weapons from the side of the craft. A big downside with the buzzard however is the tail rotor is very susceptible to damage and one bullet from an explosive round, can knock it out of the sky.
Deluxo
It doesn't really count for much when grinding, but the Deluxo is probably one of the coolest vehicles in the game, not just this competition. Who doesn't want the car that hovers, flies and is based on a DeLorean. It's not the quickest car in the game and it's not the slowest, but primarily it is just that, a car. Which gives it the ability to do some thing better then all the others in this competition, and that's to hold the road. It's a fully enclosed shell, so for protection for the driver it's got that won. Only being a two seater though means it can only carry one additional passenger. The Deluxo can also be upgraded to house it's own machine guns and missiles, at an extreme cost if you've just started the game (see price for more information). Once upgraded you'll get some of the best missiles in the game, the like of which can be found on the Ruiner 2000 and the Vigilante. However it does only hold 30 so you will need to enter and exit your garage, or dismiss and request your personal vehicle to reload.It's also got a lot customisation options, not really important with grinding but worth noting.The hover and flight mode make it an excellent vehicle for grinding, however each mode has it's own top speed the quickest being driving and the slowest being flying, so use that as a basis for what mode to make use of. Another important note, if you exit the car while it's hovering stationary it will exit hover mode, if you exit it while moving and hovering it will slowly come to a stop and stay in hover mode.
Oppressor mkII
I was very skeptical about purchasing one of these after they were released in the After Hours update. At the time my go to vehicle for grinding was the Buzzard, I then met a random stranger Online that offered to help me to do some grinding. I know a nice person, on GTA Online, on PC, what are the chances?Anyway they were using the mkII while I was in the Buzzard and the speed difference between the two was incredible. I don't mean straight up speed but time you taken off, flown to the destination, picked up the goods with the vehicle and then returned, the Oppressor was always quicker. I made the leap brought one, it drove my times down quite significantly however I can't give you a figure on that. Which brings me nicely to the biggest downside of the oppressor, and it's got nothing to do with vehicle it self it's how it's perceived. If I'm in an open lobby and I see an oppressor there's a good chance it's not friendly. They are for all intensive purposes a great attack vehicle, which also makes them the vehicle of choice for griefers.I tend to do most of my grinding in empty public lobbies, however when I do go into public ones there is a high chance I will get shot out of the sky by some random person. They see an oppressor approaching or flying around the map and they panic. On top of the chance of getting shot at for nothing you've also got the fact that it's essentially a bike, It gives the driver no protection what so ever. Being a single seater you can't ride along with friends or people online . It also has a limited amount of rockets that must be reloaded in the Terrorbyte something that can be a curse, but isn't really a problem if you're using the terrorbyte as your base of operations.
Sparrow
The Sparrow is the latest vehicle to be added in the game out of the four, it was included in the recent Cayo Perico update. Much like the Buzzard it's a small 2 seater helicopter. As standard it comes with no weaponry but can upgraded to include them. It's a very agile aircraft that I find is sometimes difficult to fly, however that's my personal preference.The cockpit and canopy is very open and offers very little in the way of protection against a direct strike to the pilot. Landing also seem quite difficult as it always seems to touch down with a bit of a bang, regardless of how lightly you attempt it. One of the Sparrow's biggest advantages is that it can be instantly called to anywhere on the map and it doesn't incur a Mors Mutual charge if it gets destroyed.Overall it's very capable vehicle and deserves an honorable mention in Vehicles to grind with.
Price
Buzzard
The cost of the Buzzard can get a little confusing, for the straight up purchase you are looking at $1,750,000 that's very reasonable considering there are no other costs on top. However that's not your only option, If you're a CEO you can order the Buzzard from your assistant for $25,000, which means you could do this option up to 70 times before reaching the cost of the Buzzard. It sort of makes it ideal for those very low on funds, but it means you'll will have spent more on the buzzard when you actually purchase it.It's also worth noting that if you're not a CEO/VIP or have not brought a Hangar you can only request the Buzzard through Pegasus which will cost you $200 and it's likely not to be placed anywhere near you unless you are in one of the Pegasus delivery locations. However as we're talking about grinding theres quite a high chance that you will be a CEO or VIP, but it's worth knowing.Once your Buzzard is destroyed, which is sort of inevitable depending on how you use it, there is a Mors Mutual cost of $21875 to recover it. If you called it through Pegasus however no insurance cost is made.
Cost:
$1,750,000
Mors Mutual Cost:
$21875.
Deluxo
The Deluxo is the most expensive vehicle to purchase at $4,721,500 or $3,550,000 for trade price. Now I said the Buzzard price was complicated, I take it back so bare with me. You can only unlock the trade price after doing the Signal Intercepts setup mission, to do those it requires a facility the cheapest of which is $1,250,000. In order to equip the missiles on the Deluxo you'll need to purchase either a bunker at $1,165,000, a MOC at $1,225,000 and a Weapon and Vehicle Workshop for the MOC at $955,000 or a Facility at $1,250,000, an Avenger at $3,450,000 and a Vehicle Workshop for the Avenger at $755,000 but remember with the Avenger you can get the trade price.The missiles then cost an additional ($198,000).
MOC
Avenger (Trade price)
Cost to (including missiles):
$4,919,500
$3,748,000
Cost to purchase:
$3,345,000
$5,455,000
Total Cost:
$8,264,500
$9,203,000
Sparrow
Once you own the Kostaka you will be able to purchase the Sparrow as an upgrade. This unfortunately makes the Sparrow very expensive, The Kostaka costs $2,200,000 plus $1,815,000 for the Sparrow and a further $240,000 if you want the Mounted Homing Missiles. This puts the overall cost at $4,255,000 which shouldn't be overlooked.However if you already own the Kostaka then the price for the Sparrow with homing missles is $2,055,000 which is quite reasonable given GTA Online's pricing.
Cost (including Missiles):
$2,055,000
Cost to purchase:
$2,200,000
Total cost:
$4,255,000
Oppressor mkII
The Oppressor is one of the more expensive vehicles at $3,890,250 or $2,925,000 for trade price. To unlock the trade price you'll need a Terrorbyte at $1,375,000. The missiles will also cost you an extra $495,000 for the Specialized Workshop and $180,000 for the Missile launchers. Unfortunately to buy the Terrorbyte you also need a nightclub that will cost $1,080,000. Putting the lowest cost of the oppressor at $4,975,000 that's at trade price including the nightclub, Terrorbyte, specialized workshop and missile launchers. That doesn't include the cost of engine and handling upgrades that I've got equipped on mine.
Cost (trade price with missiles):
$3,105,000
Cost to purchase:
$2,950,000
Total cost:
$6,055,000
Mors Mutual Cost:
$38,812
The Scores
Originally I'd put two categories in here base price and base price + Cost to purchase. The two scoreboards however matched up identically so I've just compared base price. For those that are interested in how the prices compared when you included the cost to purchase, I've also included that table.
Actual Scores
Vehicle
Cost
Points
Buzard
$1,750,000
Sparrow
$2,055,000
Opressor mkII
$2,950,000
Deluxo
$3,748,000
Totals with cost of purchase
Vehicle
Cost
Buzard
$1,750,000
Sparrow
$4,255,000
Opressor mkII
$6,055,000
Deluxo
$8,264,500
Armor Resistance
I had planned on doing a test to see how many homing missiles it takes to destroy each vehicle, however it was a dead heat with each taking one before blowing up. So this section is now pointless
Pros and Cons
Buzzard
Pros
Cons
Cheapest of the three vehicles
Very little protection for the occupants
Can hold 4 occupants
Tail rotor makes it susceptible to one hit kills
When in CEO can be spawned next to you
Tail rotor can be lethal when walking around.
Missiles don't need to be reloaded
Missile tracking system is terrible
When using CEO, you don't have to return the vehicle in order to call it again
Deluxo
Pros
Cons
Doesn't lose speed as it gains altitude
Very expensive to purchase and to get to the point of purchase
Offers the most protection for occupants
Can only carry 30 missles
Easy to park in most place
Destruction by yourself or NPC occurs Mors Mutual cost
Can be called from your usual mechanic
Has a cool down for spawning
Best missiles in the game
Can hold 2 occupants
Opressor mkII
Pros
Cons
Can park and get every where on the map
Only has 20 missiles then needs to be reloaded
Can be fitted with countermeasures
Collecting packages from the sea can be troublesome
Can be called from your usual mechanic
No protection for the driver
Doesn't lose speed as it gains altitude
Incurs a Mors Mutual cost when destroyed
You hardly ever have to leave the vehicle to make pickups
Can reload and repair from terrorbyte
While it was said earlier it can only carry one person, most grinders do it solo. So I couldn't really include it as a con.
Sparrow
Pros
Cons
Can hold 2 occupants
Very little protection for the pilot
Can be spawned next to you
Very lightly armored small arms attacks can be devastating
No Mors Mutual cost if destroyed
Blades can make it difficult to park in tight space
Missiles do not have to be reloaded
Missile tracking system is terrible
Can repair from Kosatka
Not the easiest helicopter to land
The Scores
I've marked this by adding 2 points for every pro and deducting 1 point for every con.
Vehicle
Score
Points
Opressor mkII
8
Deluxo
8
Buzzard
6
Sparrow
5
Let's grind it out
No true test wouldn't be complete without a race, well this isn't an ordinary race. The finish line, is a full small warehouse, and all the mandatory prep for the Cayo Perico heist. Before we get into it there were a few rules I had to follow
I was only allowed to use the vehicle assigned
The start line was when the computer in the office had logged in
The finish line was when I could move my character on returning to the Kosatka.
Time scoping Cayo Perico didn't count towards overall time and was paused the second both feet landed on the wing of the vulcum, and resumed when I gained control on return.
Every vehicle was to do the same 5 missions from the Kosatka, moored just off the docks. Those missions were Scope Cayo Perico, Secure the Velum, Plasma Cutter, Fingerprint Cloner, Cutting Torch and finally Unmarked Weapons
Each vehicle did 6 delivery runs for the small warehouse in Rancho, 5 with 3 crates and 1 single collection.
The office computer would be used to start the session, all following crates were to be triggered from the Terrorbyte and obviously all Cayo Perico missions activated from the Kosatka
I was allowed to send vehicles back for repair and rearm, however if the cool down hadn't expired by time I needed to call it again, I could walk or wait. I could not use another vehicle.
I couldn't purposely fail a mission, or find a new session to avoid doing one.
Oppressor mkII
I'll be honest the Oppressor mkII was the bookies favourite for this test. I thought that it would absolutely blitz it without any real competition, so I took it out first. It all went pretty smoothly, apart from the first time I entered the Kosatka and saw the warning that my personal vehicle had been destroyed. Not really a great start, I had to swim to shore which wasn't that far and then wait for the cool down timer to count down to zero. I suspected I'd have some more trouble when I saw the out to sea mission, the Oppressor hovers slightly to high to get packages out of the sea. You have to tip the nose to collect them, over do it while moving and you're swimming back with a Mors Mutual bill to top it off. However there were no deaths and only once did the Oppressor get detroyed.If you plan on using the Oppressor for the Cayo Perico setup. Park it on the nose of the Kosatka just behind the forward hatch, and make sure it's firmly down before walking away.
Missions
Crate run 1 - Zirconium Journey in secure police compound - Rockford Hills - 1 Collection
Scope Cayo Perico - Go to Grapeseed
Crate run 2 - Take out the Valkyrie - Rockford Hills - 3 Collections
Velum - Go to Sandy Shores Airfield
Crate run 3 - Throw a flare inside the drop zone - Banham Canyon - 3 Collections
Plasma Cutter - Safe house in Starwberry - Collect in Del Perro
Fingerprint Cloner - Warehouse in Davis, Archive in East Vinewood
Crate Run 5 - Out to sea off the coast of Del Perro Beach - 3 Collections
Cutting Torch - Little Seoul
Crate Run 6 - Brute Boxville held in mansion under guard in Morningwood - 1 Collection
Unmarked Weapons - Penris Building
Buzzard
While I suspected the mkII would win, I hoped that it would be the Buzzard. This bird has served me well for a while, it's my favourite thing to fly in the game. I find it so agile and stable, and yes while the missile's aren't great if you learn some of the secrets of the Buzzard you can make them work a bit better. Missile firing sequence always alternates between left and right. If your last missile fired came from the left pod, the next it coming from the right Although my excitement was there it seems my best game wasn't I lost two Buzzards one during the Plasma Cutter mission, I landed hard on a telegraph pole (Not my finest moment), I then died waiting for it to cool down. The second I lost on the roof of Vespucci 707 which was unfortunate given that it spawned me back on the road. I died a couple of time holding off the endless waves of helicopters before the cooldown expired and I took flight again to retrieve the missing weapons from the roof.
Missions
Crate run 1 - Brute Boxville playing field in Rockford Hills - 1 Collection
Scope Cayo Perico - Paleto Cove
Crate run 2 - Law enforcement seized the goods - Rockford Hills - 1 Collection
Velum - Mckenzie Field
Crate run 3 - Take out the helicopters - Cypress Flats - 3 Collections
Plasma Cutter - Safe house in Strawberry - Collect in Rockford Hills
Crate run 4 - Search the area in Vinewood Hills - 3 Collections
Fingerprint Cloner - Warehouse in Davis, Archive in East Vinewood
Crate Run 5 - Banham Canyon find the vehicle (BF Surfer) - 1 Collection
Cutting Torch - Rockford Hills
Crate Run 6 - Brute Camper in secure Police compound on Vespucci Beach - 1 Collection
Unmarked Weapons - 707 Vespucci
Sparrow
Again in the interest in fairness, I really hate the sparrow. I hate how it flies, how it sways and drastically adjusts it heading with small adjustments. It feel like it's lined with paper for armor and that a light breeze could knock it out of the sky. However I'd included it in this article as it seems to be a contender. More honesty this didn't feel like a great run for me at least once I forgot to recall it, so I had to wait for the cool down. I lost one sparrow on the weapon collection, where I died in the cockpit.When you return to the kosatka, the sparrow is repaired and rearmed. You can also take advantage of this by dismissing it and then calling it again I also made a bit of a mess with the cutting torch, I spent a lot of time looking for it.
Missions
Crate run 1 - Assaniate the target's in Downtown Vinewood (Bravado Paradise) - 1 Collection
Scope Cayo Perico - Paleto Cove
Crate run 2 - Brute Boxville held in mansion under guard in Morningwood - 1 Collection
Velum - Sandy Shores Airfield
Crate run 3 - Declasse Burrito sting vehicle in Vescpucci - 1 Collection
Plasma Cutter - Safe house in Strawberry - Collect in Vespucci Beach
Crate run 4 - Seller got spooked Zirconium Journey on Palomino Freeway services - 1 Collection
Fingerprint Cloner - Warehouse in Davis, Archive in East Vinewood
Crate Run 5 - Banham Canyon find the vehicle (Vapid Speedo) - 1 Collection
Cutting Torch - Pillbox Hill
Crate Run 6 - Zirconium Journey used in a gang trade on Los Santos International
Unmarked Weapons - Penris Building
Deluxo
This is the first time I've ever really used the Deluxo. I've owned it for a while but never really bothered doing anything with it, so it was refreshing and I've got to say probably the most fun I've had grinding in a while. It's not that quick at all especially when flying so I did a lot of trading between direct road and flight. It's quite tough especially compared to the other vehicles, I didn't die or have to call in a replacement. I very, very nearly lost it in the sea on the Kosatka.
Missions
Crate run 1 - Assaniate the target's in Downtown Vinewood (Bravado Paradise) - 1 Collection
Scope Cayo Perico - Paleto Cove
Crate run 2 - Brute Boxville held in mansion under guard in Morningwood - 1 Collection
Velum - Sandy Shores Airfield
Crate run 3 - Declasse Burrito sting vehicle in Vescpucci - 1 Collection
Plasma Cutter - Safe house in Strawberry - Collect in Vespucci Beach
Crate run 4 - Seller got spooked Zirconium Journey on Palomino Freeway services - 1 Collection
Fingerprint Cloner - Warehouse in Davis, Archive in East Vinewood
Crate Run 5 - Banham Canyon find the vehicle (Vapid Speedo) - 1 Collection
Cutting Torch - Pillbox Hill
Crate Run 6 - Zirconium Journey used in a gang trade on Los Santos International
Unmarked Weapons - Penris Building
Race Times
Vehicle
Score
Points
Sparrow
01:14:30
Oppressor mkII
01:21:34
Buzzard
01:24:58
Deluxo
01:40:06
Just a few things to consider with these results. I never used the Kosatka to fast travel any where, and my runs may not have been the most efficient use of each vehicle. Also the Sparrow had the easiest of the three runs, however it also had the worst run by me. I don't claim to be a really good pilot and I particularly don't get on with the Sparrow. Given those two details the Sparrow definitely earned the number one spot in this race. The Buzzard also deserves a special mention, you already know I'm a big fan of it but the fact that it got that time when you consider it got destroyed twice is pretty impressive.
The Result
I think we all really knew who the winner was going to be, even though it pains me to say. I don't say that with any hate it's just the Oppressor is openly known to be over powered and it would have been nice to get a draw from the new contender, however that being said if you are grinding Cayo Perico use the Sparrow. The power to repair from the Kosatka without losing time is invaluable and would make all the difference with time. If you're keeping it old school and grinding the CEO Crates use the Oppressor.Neither of which is probably that useful for import/export although I haven't spent that much time using that particular method for money.
Position
Vehicle
Points
1st
Oppressor mkII
2nd
Sparrow
2nd
Buzzard
4th
Deluxo
What did Reddit think?
Not long ago, I put the same question to an online community r/GTAOnline the results didn't really surprise me.
Other ideas included
u/J9DoughertyDon't flame me guys, but you're all overlooking the CEO Sanchez. Nimble, resilient, quick to arrive, doesn't attract griefers. It's quick and reliable and its my go-to for anything requiring multiple trips.
u/Williams134 hunter/savage/hydra/oppresor/toreador are the ones i use
u/run-from-canned-milk Akula since the stealth makes you able to do stuff with out being blown up every 2 seconds
u/Ahytmoite The molotok is very fast at decelerating and is one of the fastest vehicles in the game.
u/KamiKrazyCanadian I’ve been grinding this week with the fH-1 Hunter (hangar sell & sourcing + VIP work + sourcing & sell vehicle cargo) and I’ve been very pleased. It’s like the oppressor, but it doesn’t run out of missiles. It is also very fast and easy to land in places.
 This seem to have been a topic for some time now and with the recent release of the Cayo Perico update which included the Sparrow. The discussion seems to have had a new breathe of fresh air thrust into it. So I've put all of the main contenders, the Sparrow, the Buzzard, the Opressor MKII and the Deluxo through a series of test's to see which one comes out on top. We'll be scoring each vehicle a position in the various tests and the one with the lowest overall score will be deemed my winner.
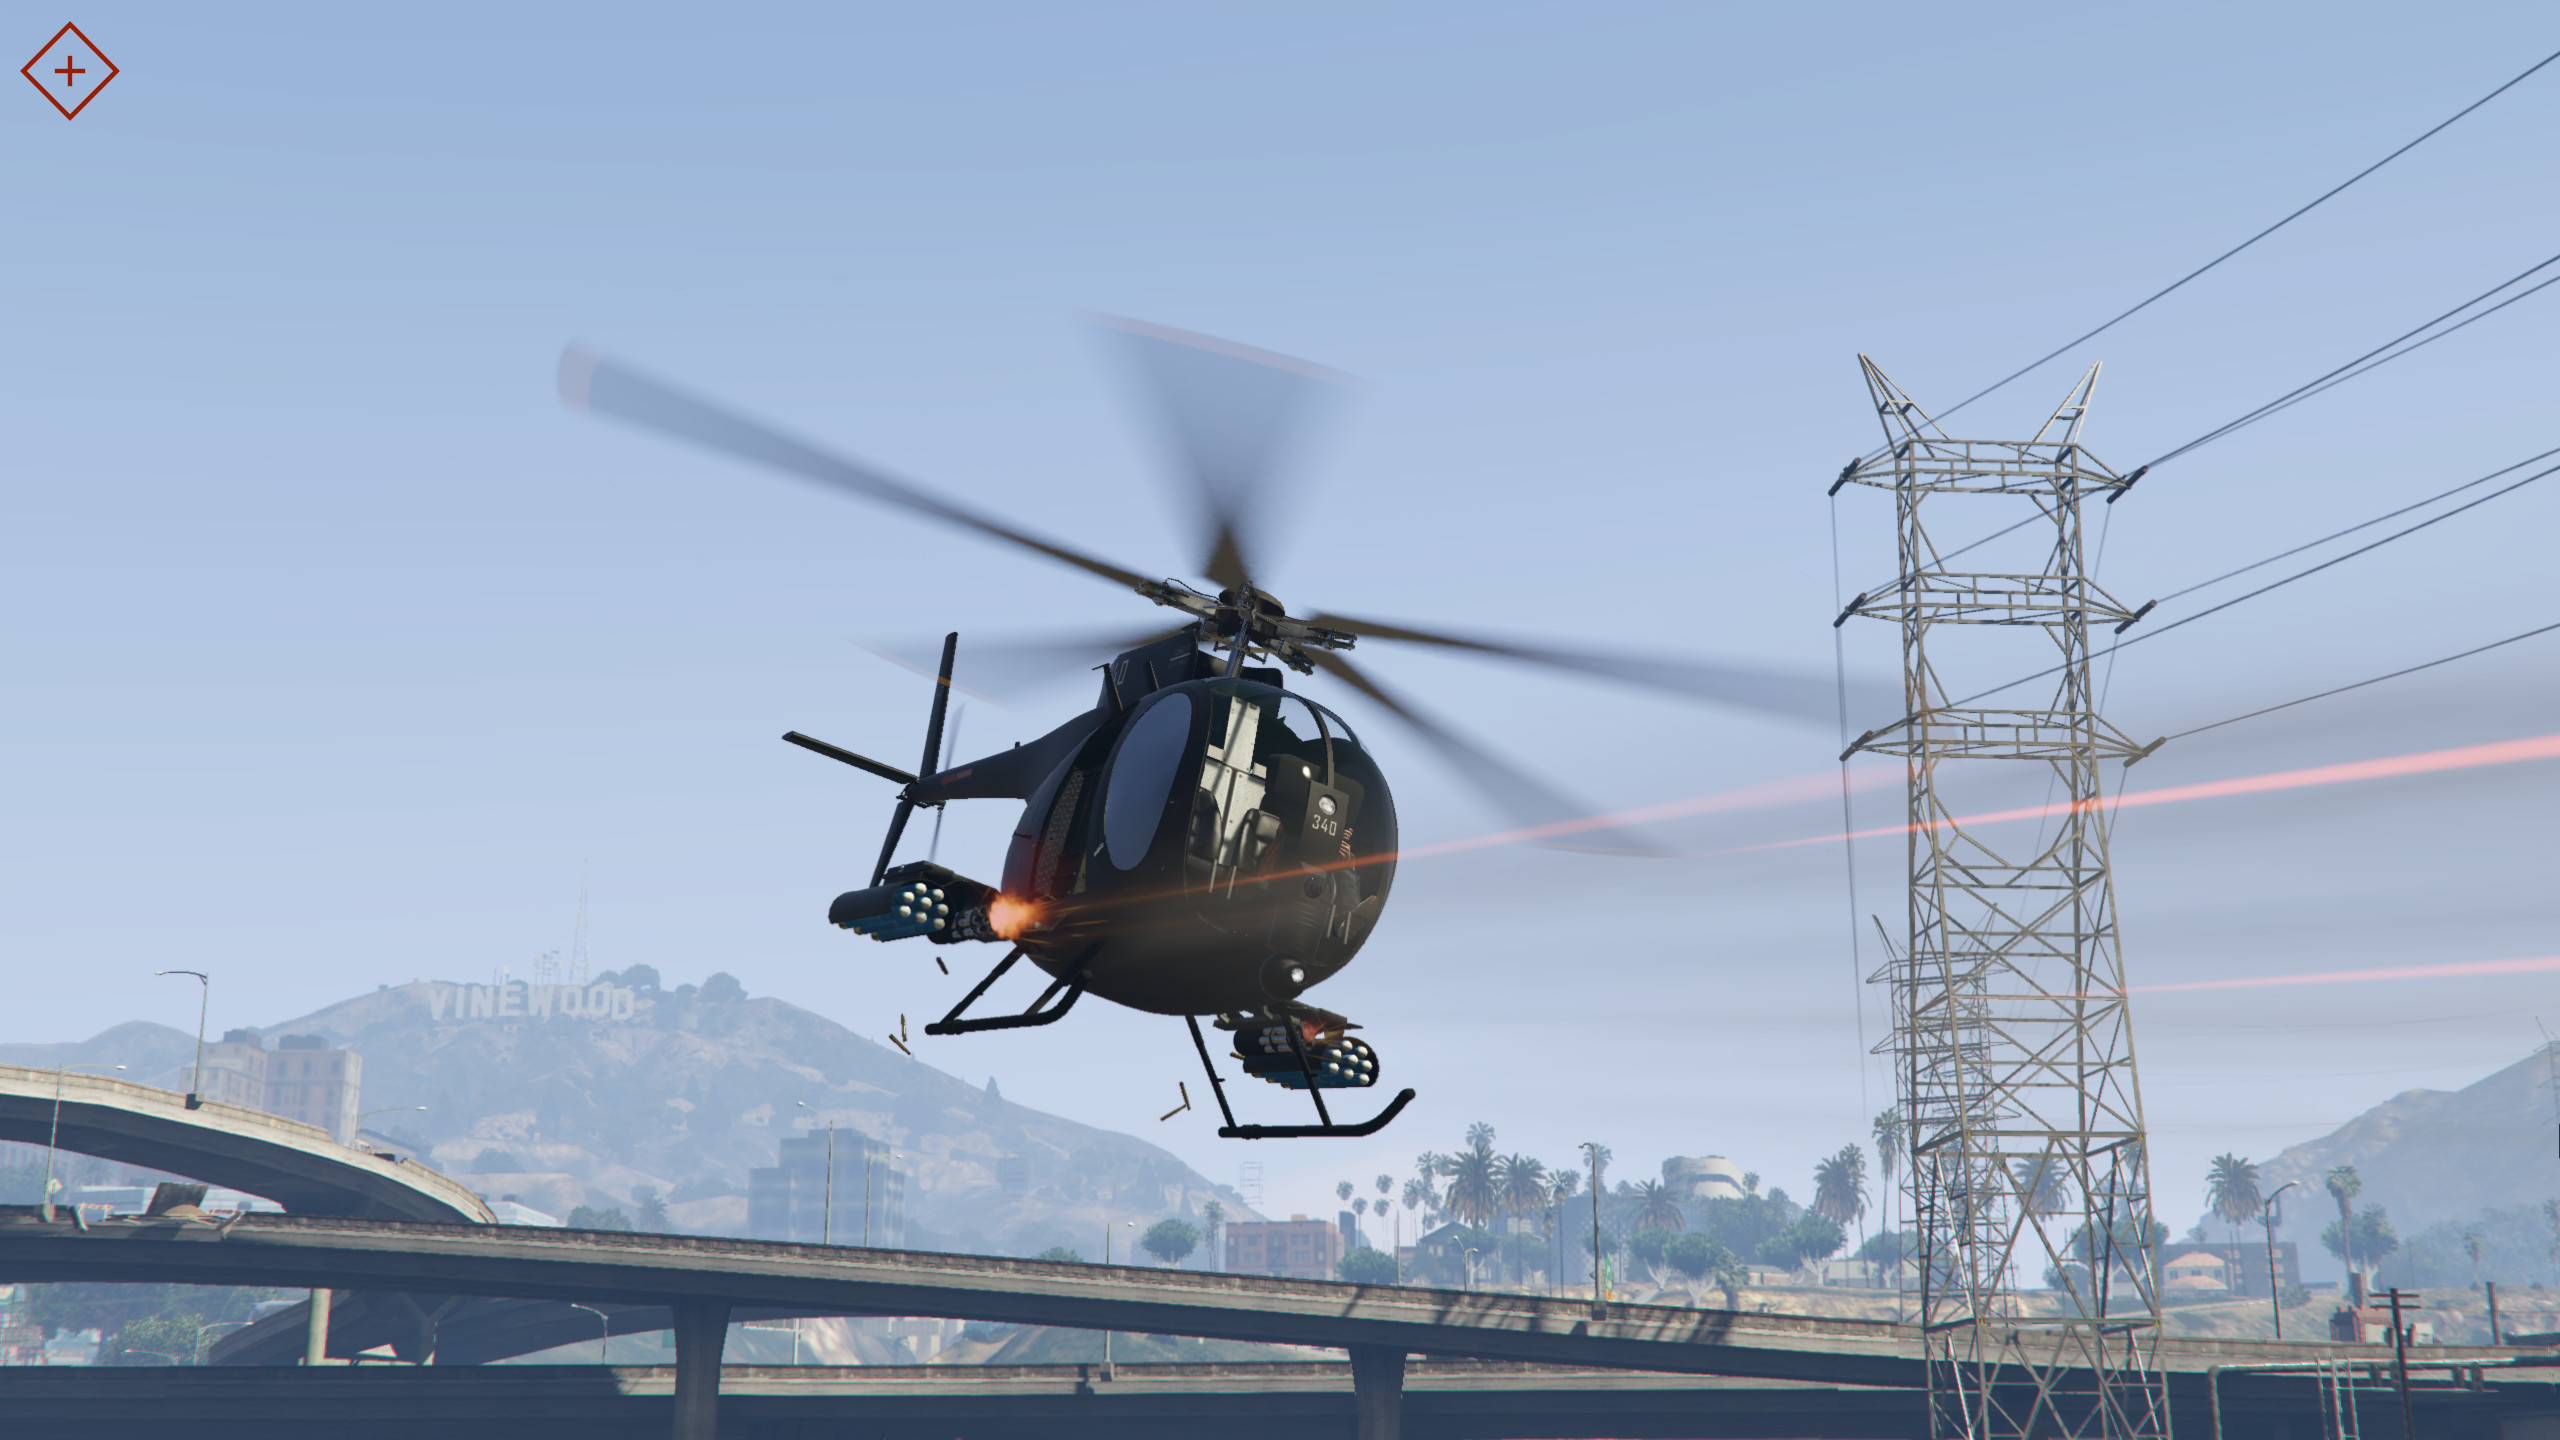 Up first is the Buzzard which in all honesty is probably my go to helicopter in the game, It's not however the vehicle I currently use for grinding. It's a small helicopter whose cockpit and canopy doesn't offer much in the way of protection for any of it's occupants. It does however offer 4 seats, 1 pilot, 1 co-pilot and 2 passengers. The co pilot can take control of the missiles while the two passengers can fire there own personal weapons from the side of the craft. A big downside with the buzzard however is the tail rotor is very susceptible to damage and one bullet from an explosive round, can knock it out of the sky.
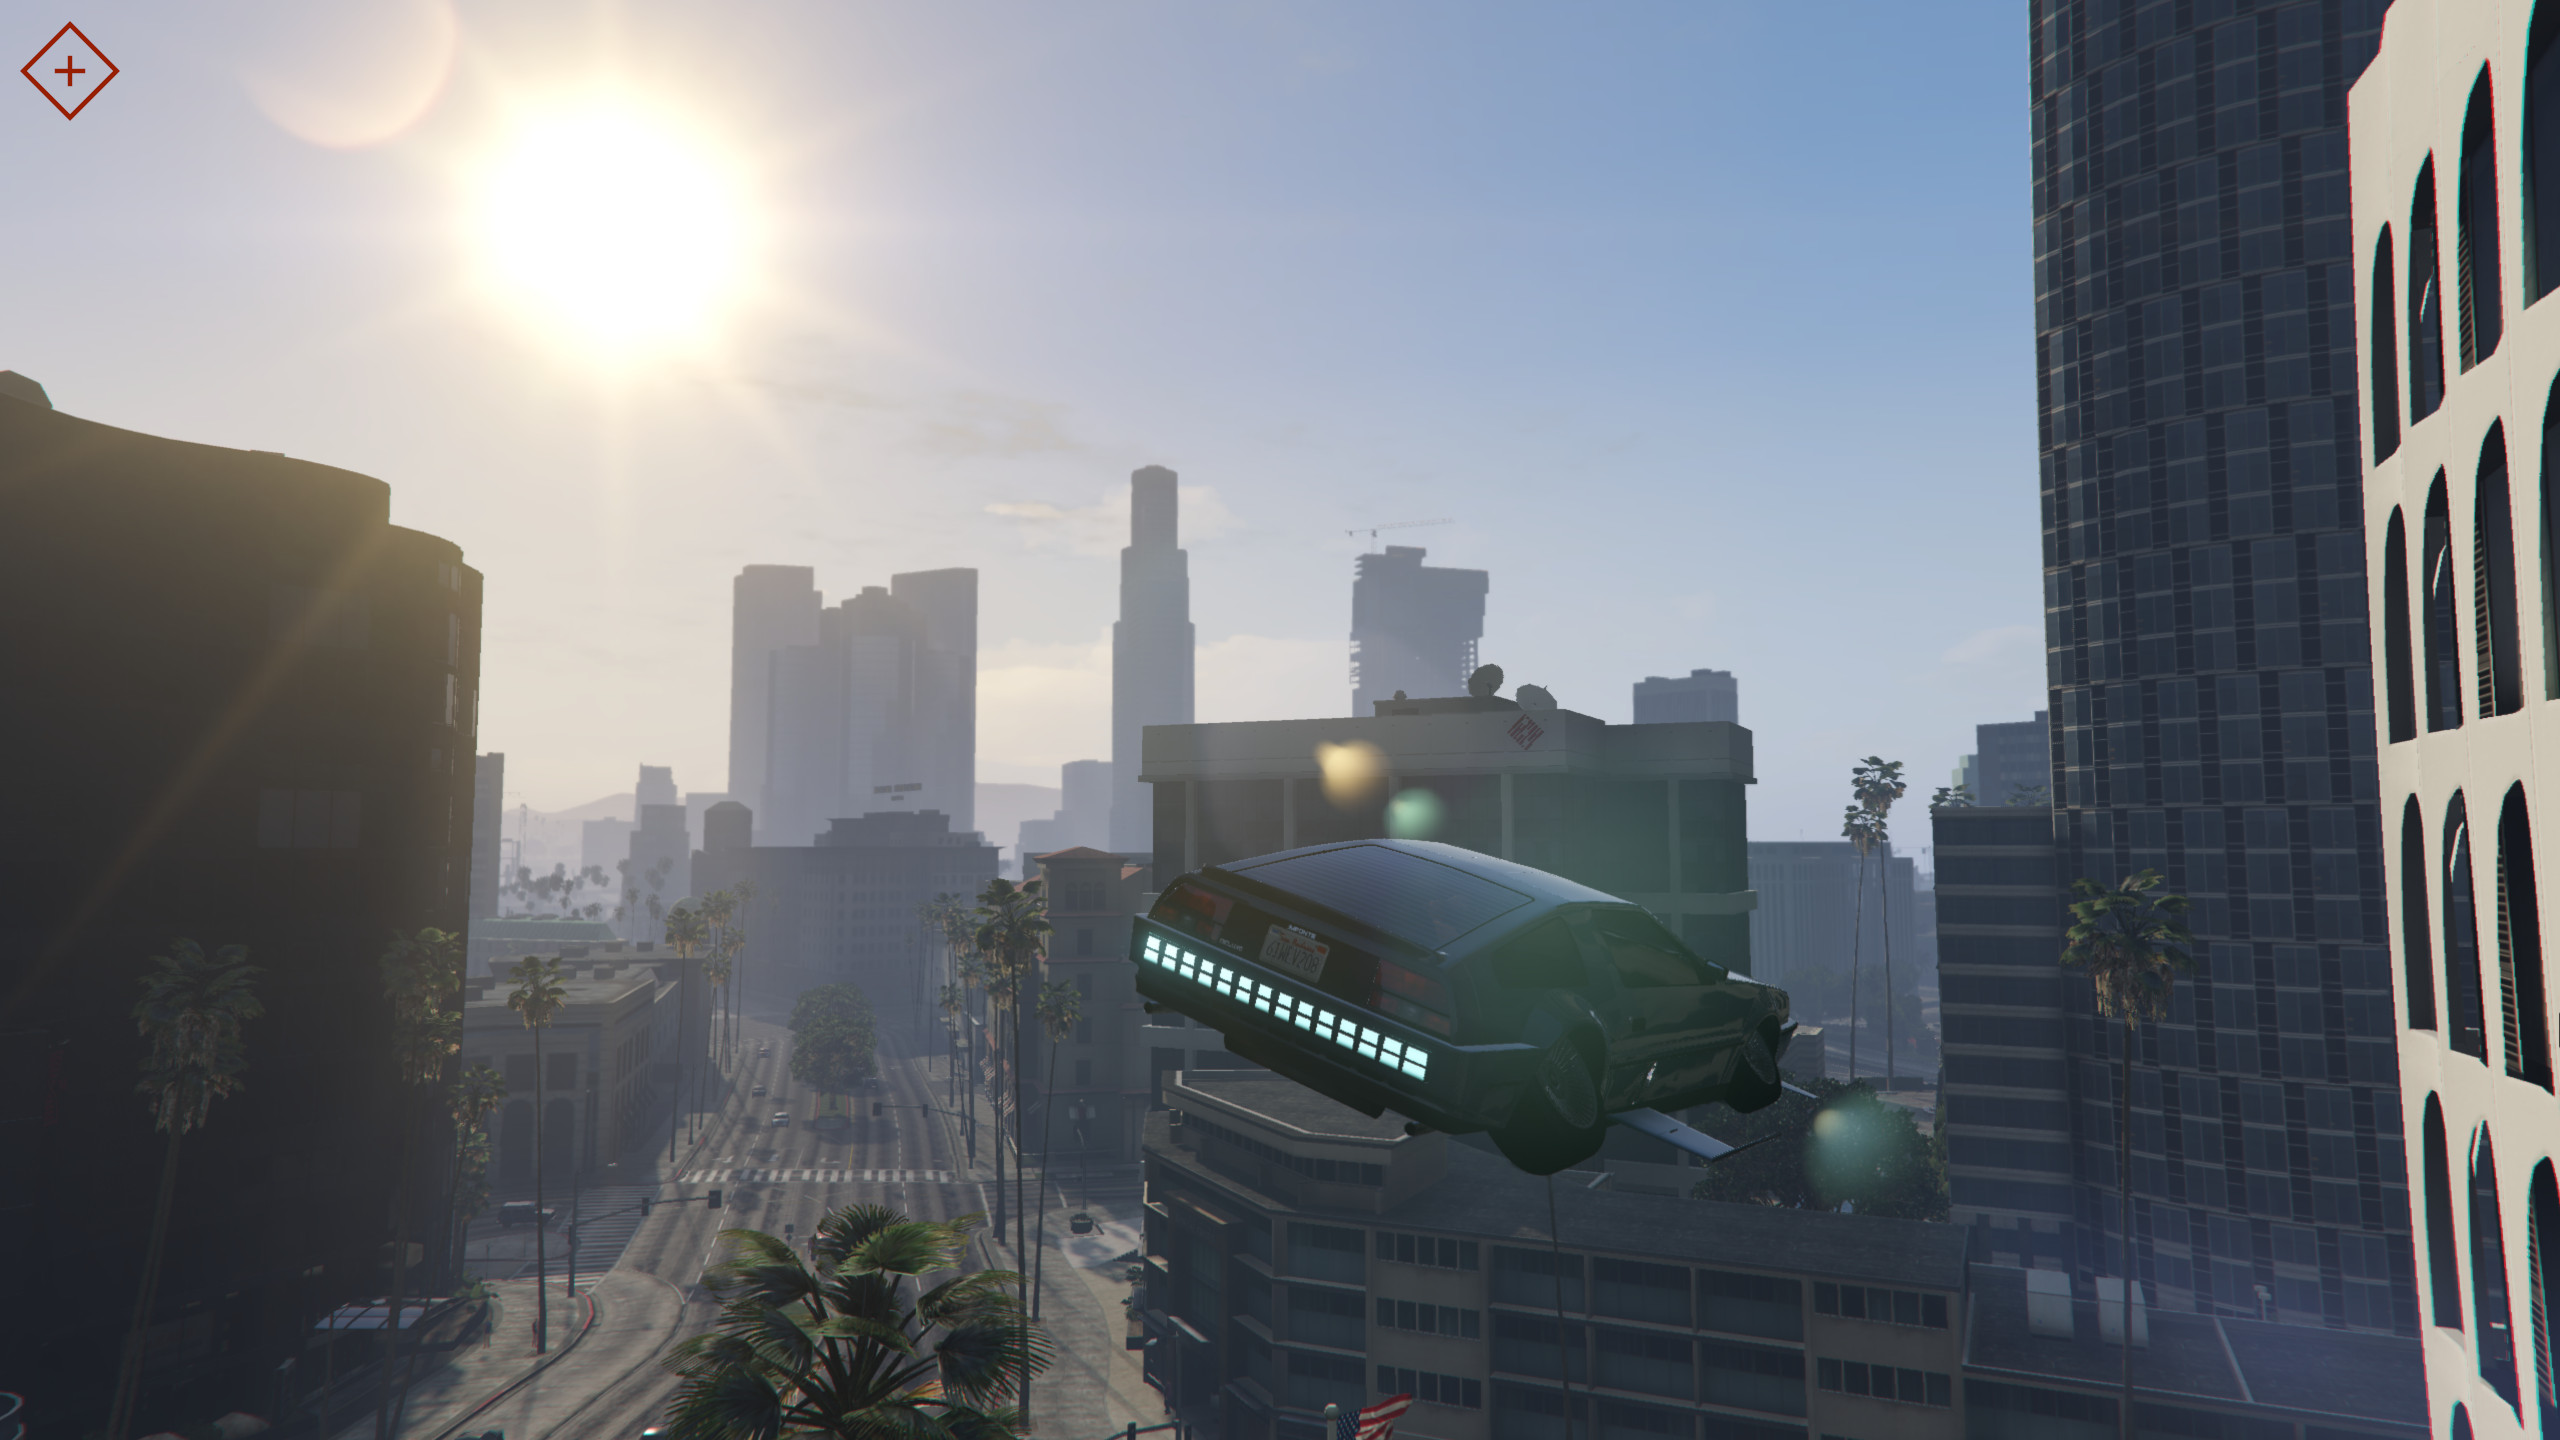 It doesn't really count for much when grinding, but the Deluxo is probably one of the coolest vehicles in the game, not just this competition. Who doesn't want the car that hovers, flies and is based on a DeLorean. It's not the quickest car in the game and it's not the slowest, but primarily it is just that, a car. Which gives it the ability to do some thing better then all the others in this competition, and that's to hold the road. It's a fully enclosed shell, so for protection for the driver it's got that won. Only being a two seater though means it can only carry one additional passenger. The Deluxo can also be upgraded to house it's own machine guns and missiles, at an extreme cost if you've just started the game (see price for more information). Once upgraded you'll get some of the best missiles in the game, the like of which can be found on the Ruiner 2000 and the Vigilante. However it does only hold 30 so you will need to enter and exit your garage, or dismiss and request your personal vehicle to reload.It's also got a lot customisation options, not really important with grinding but worth noting.The hover and flight mode make it an excellent vehicle for grinding, however each mode has it's own top speed the quickest being driving and the slowest being flying, so use that as a basis for what mode to make use of. Another important note, if you exit the car while it's hovering stationary it will exit hover mode, if you exit it while moving and hovering it will slowly come to a stop and stay in hover mode.
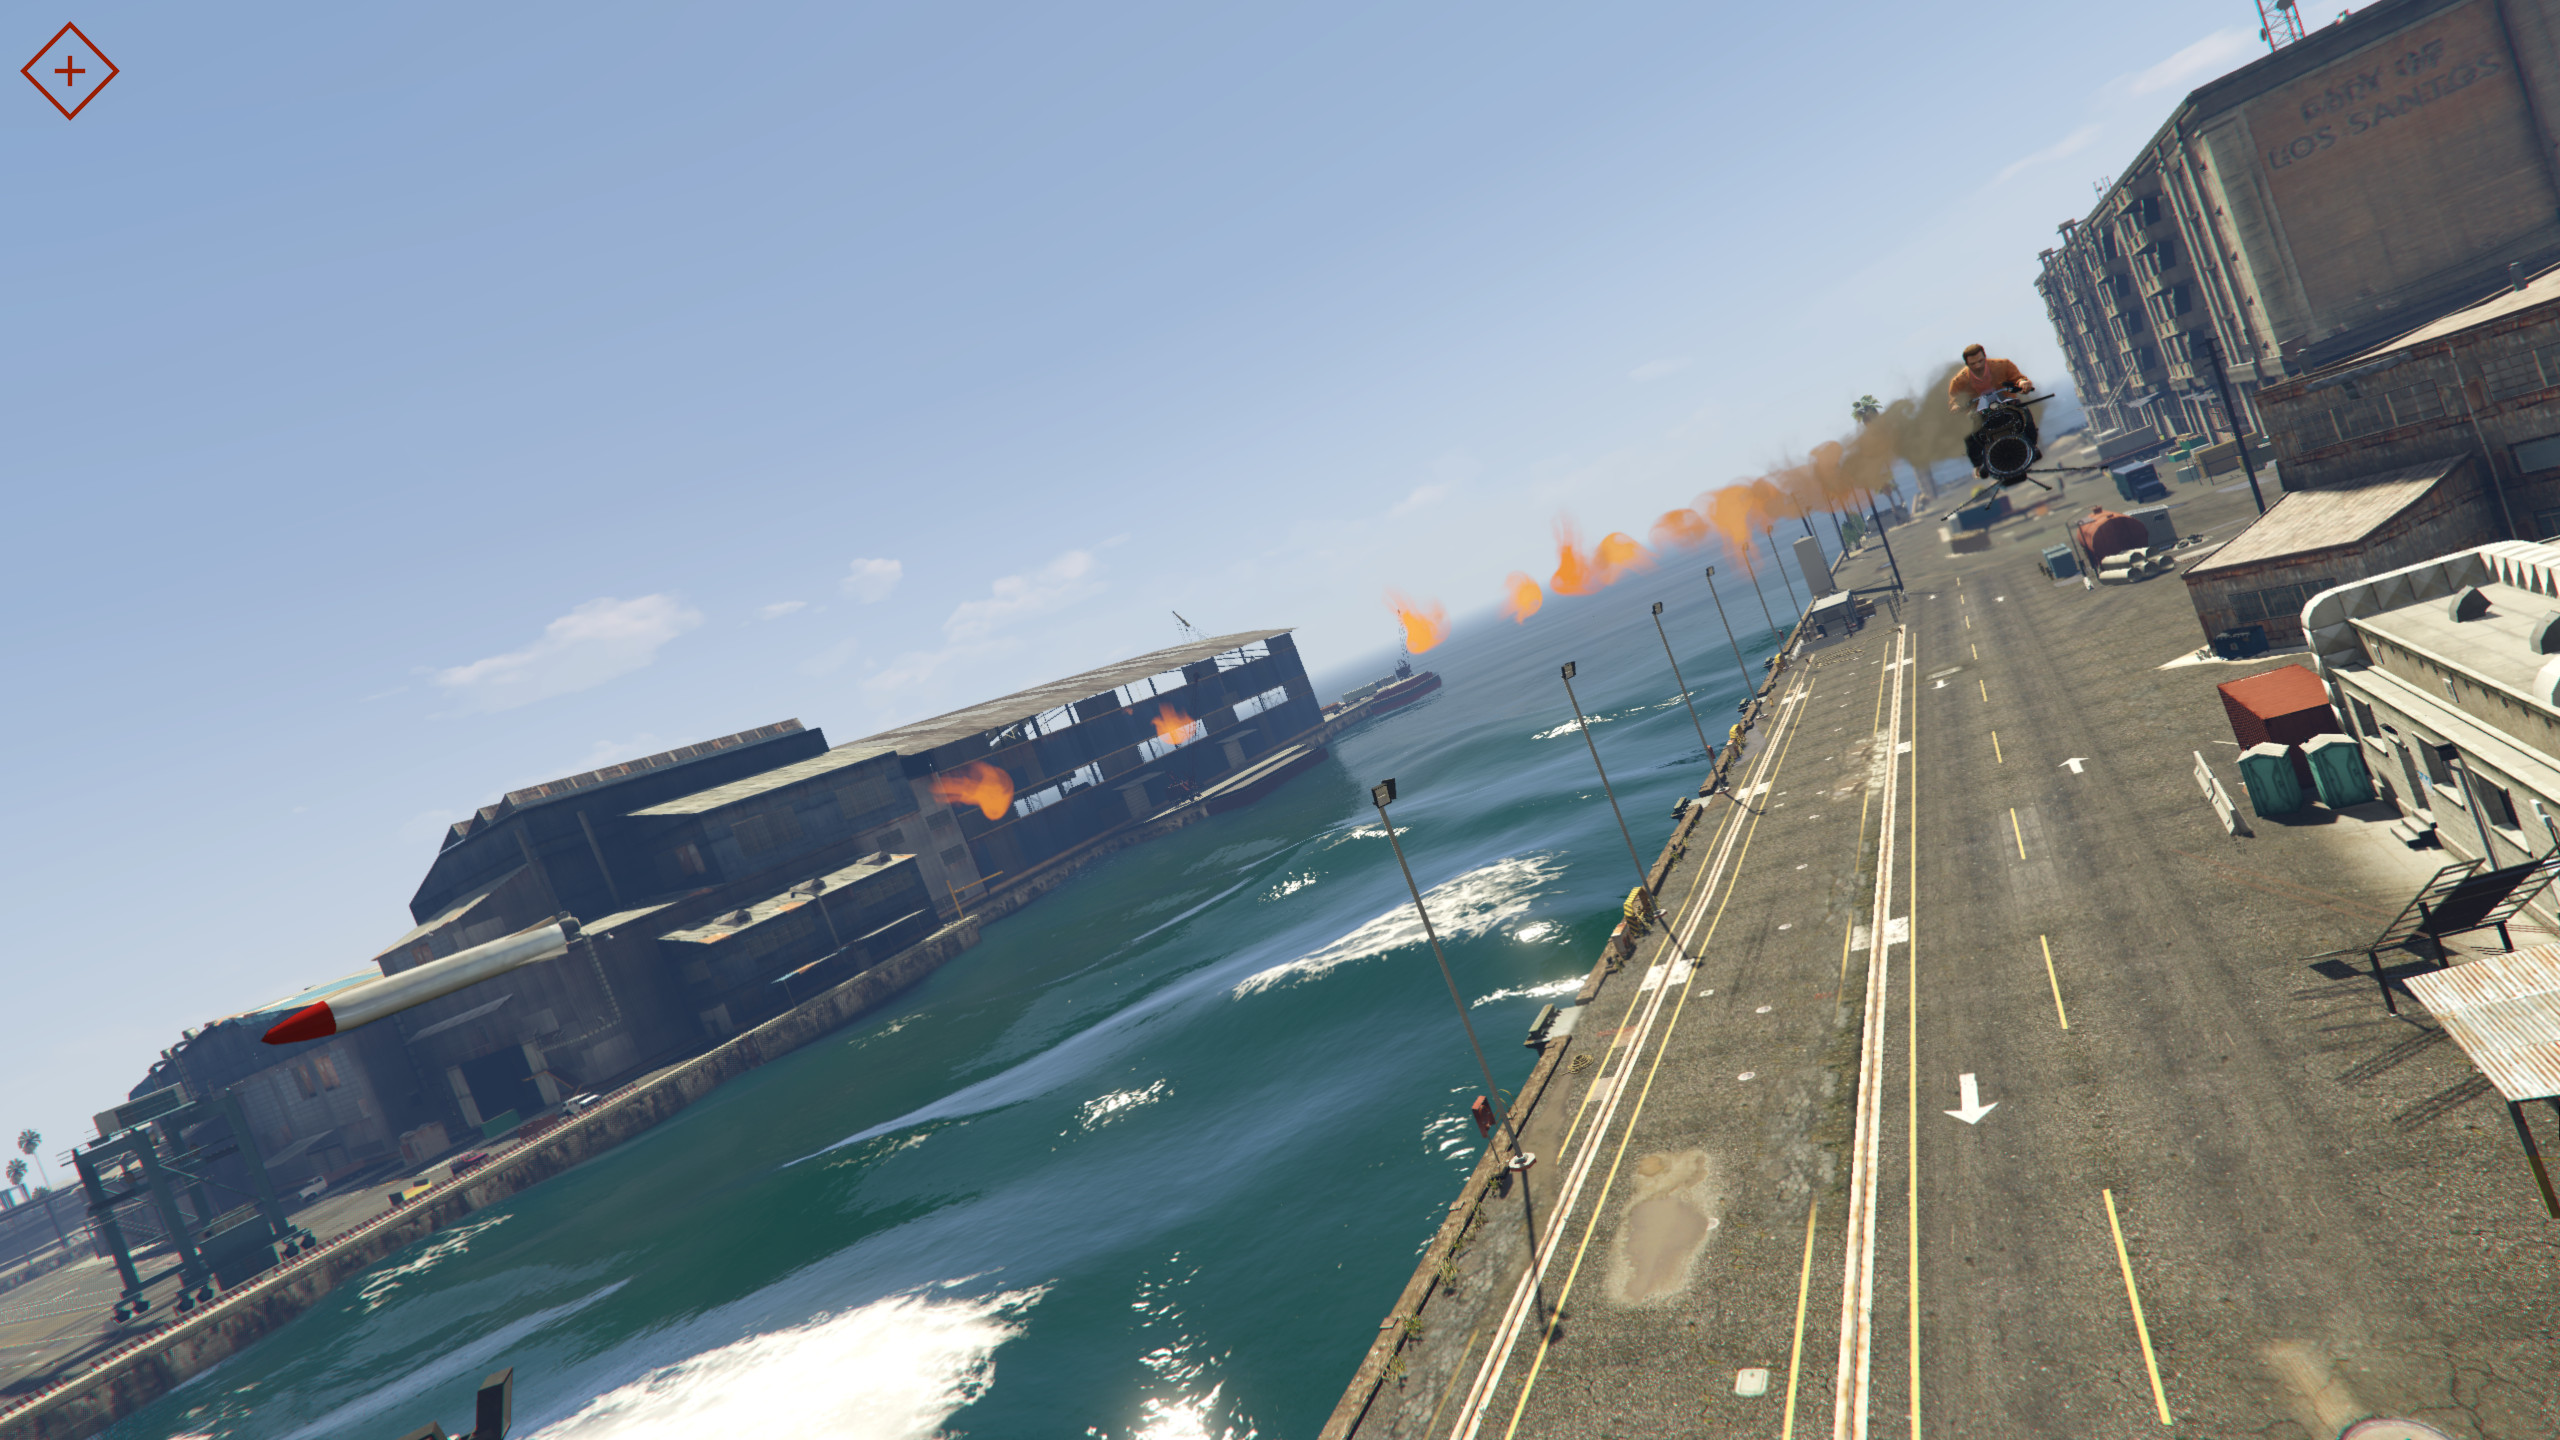 I was very skeptical about purchasing one of these after they were released in the After Hours update. At the time my go to vehicle for grinding was the Buzzard, I then met a random stranger Online that offered to help me to do some grinding. I know a nice person, on GTA Online, on PC, what are the chances?Anyway they were using the mkII while I was in the Buzzard and the speed difference between the two was incredible. I don't mean straight up speed but time you taken off, flown to the destination, picked up the goods with the vehicle and then returned, the Oppressor was always quicker. I made the leap brought one, it drove my times down quite significantly however I can't give you a figure on that.
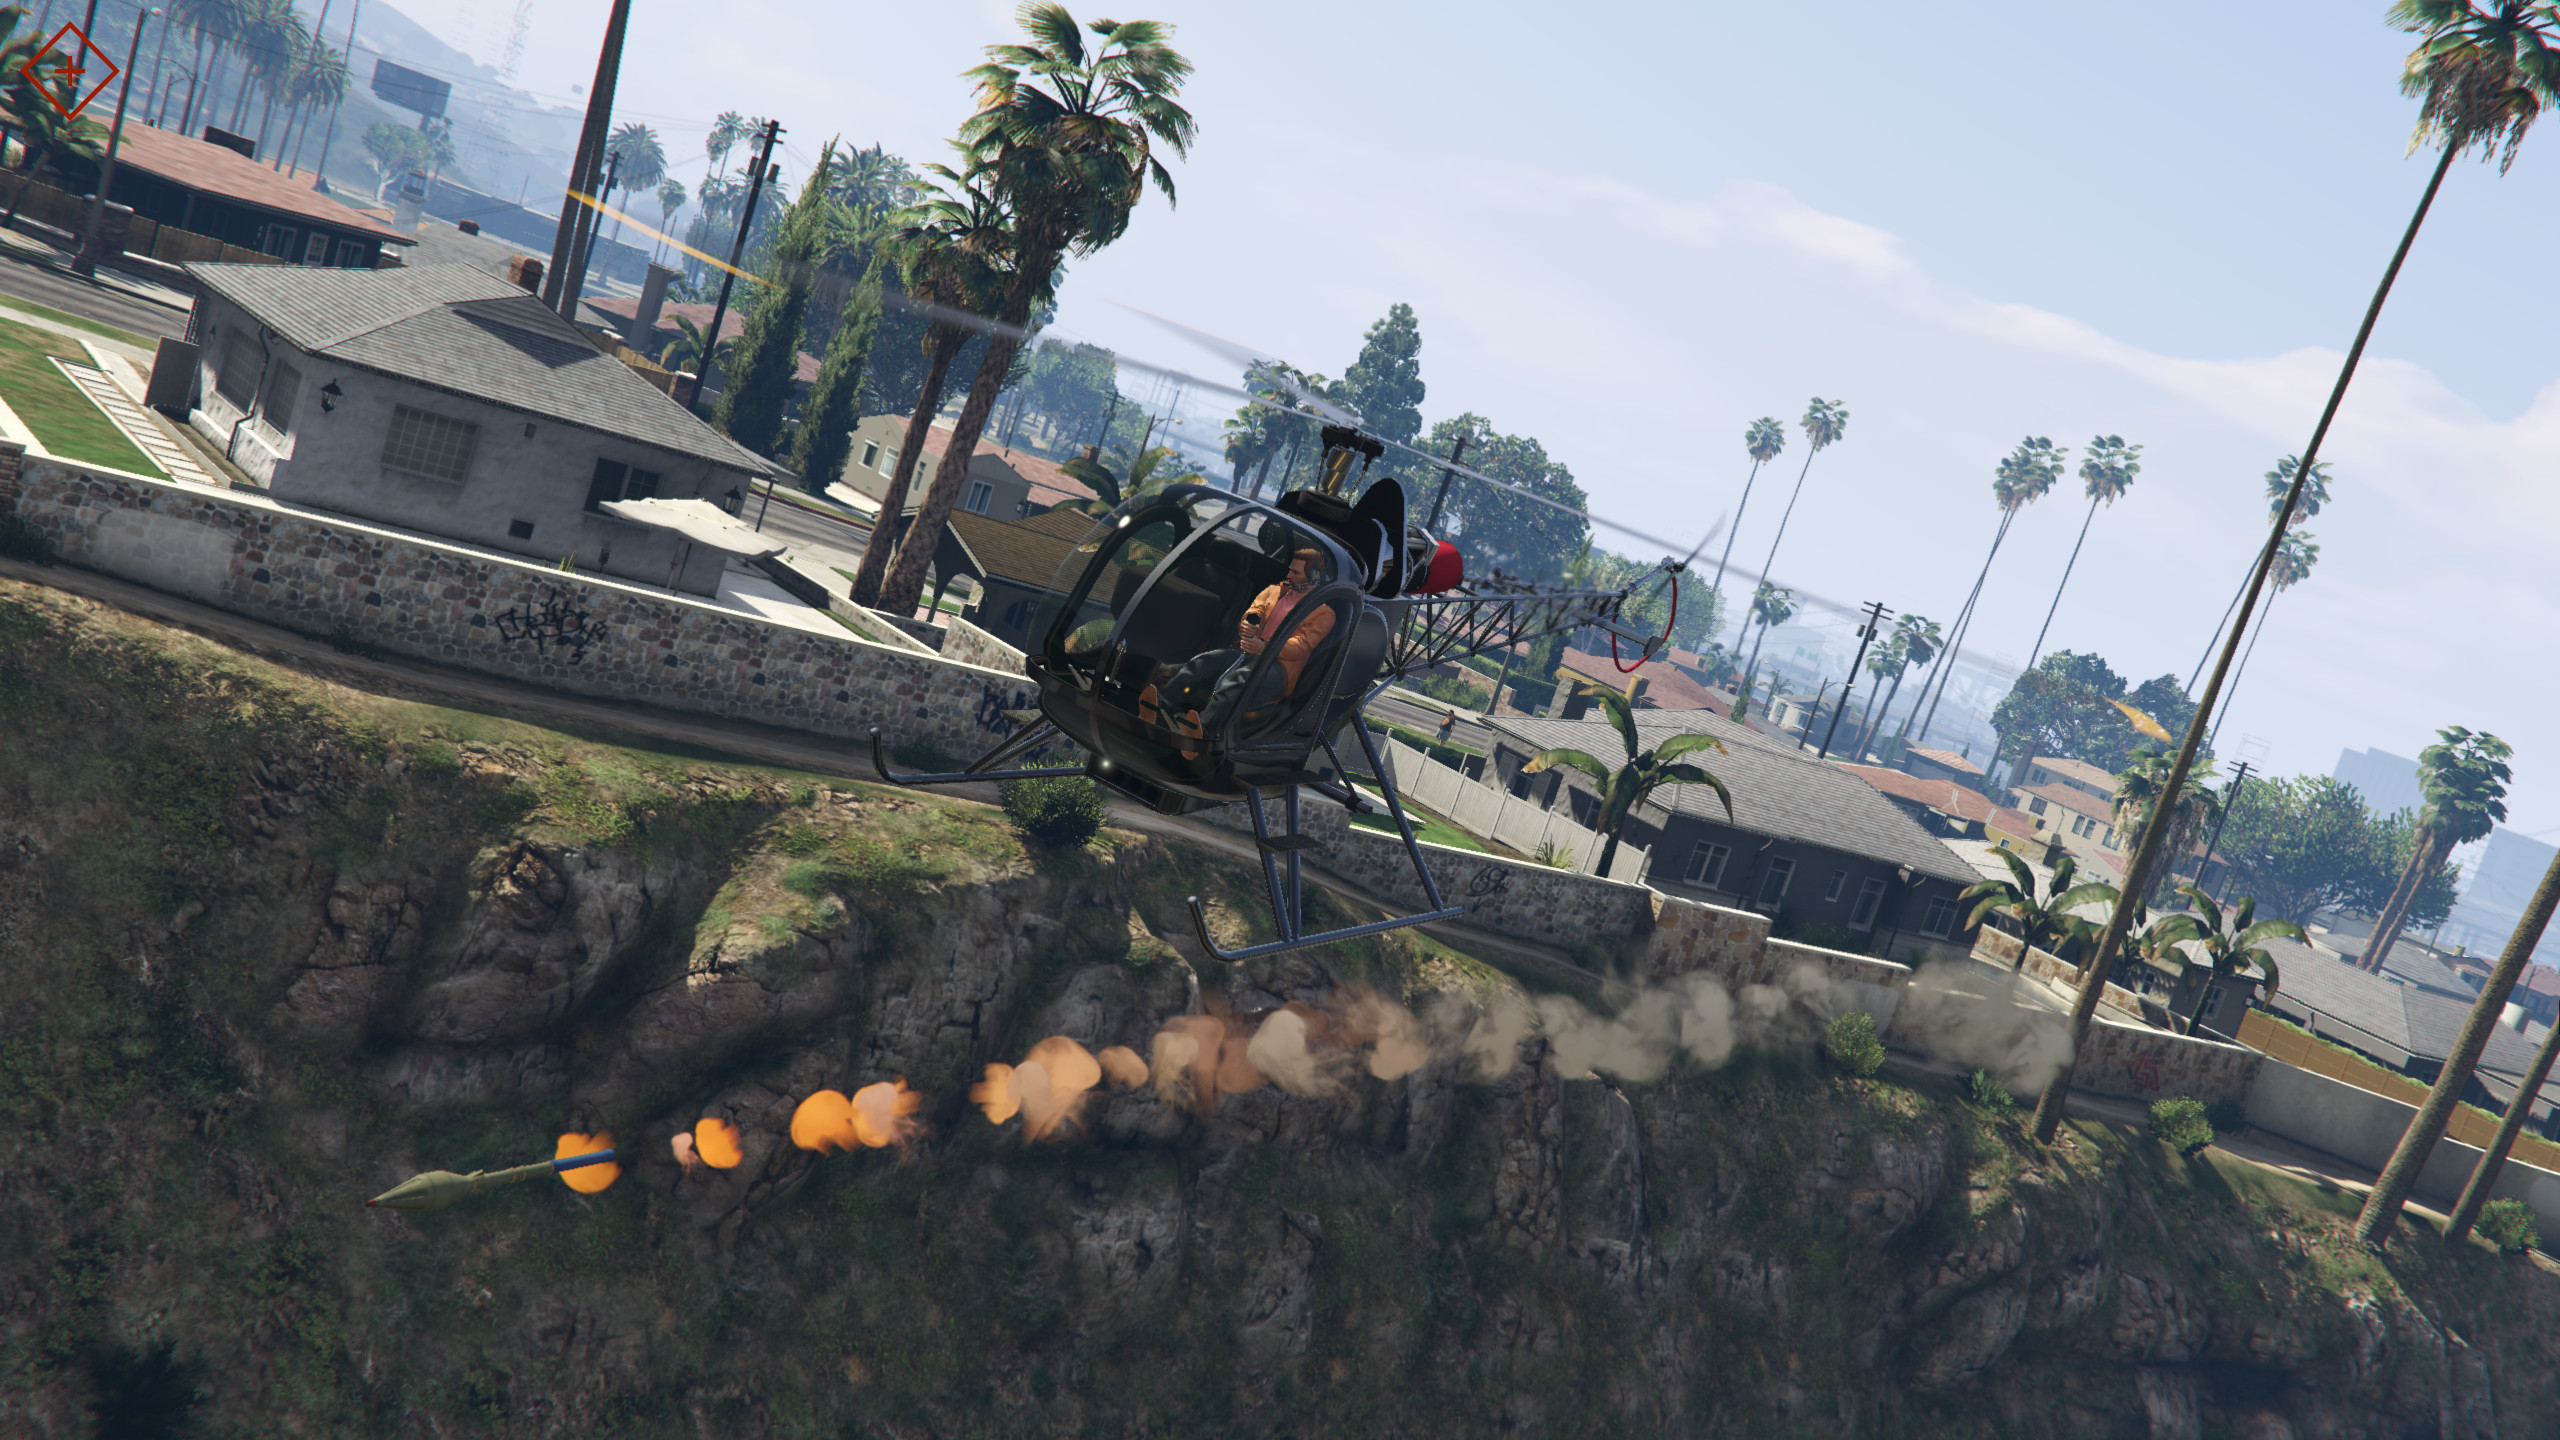 The Sparrow is the latest vehicle to be added in the game out of the four, it was included in the recent Cayo Perico update. Much like the Buzzard it's a small 2 seater helicopter. As standard it comes with no weaponry but can upgraded to include them. It's a very agile aircraft that I find is sometimes difficult to fly, however that's my personal preference.The cockpit and canopy is very open and offers very little in the way of protection against a direct strike to the pilot. Landing also seem quite difficult as it always seems to touch down with a bit of a bang, regardless of how lightly you attempt it. One of the Sparrow's biggest advantages is that it can be instantly called to anywhere on the map and it doesn't incur a Mors Mutual charge if it gets destroyed.Overall it's very capable vehicle and deserves an honorable mention in Vehicles to grind with.